Follow These Simple Steps To Add An Image To A WordPress Post
If you are new to WordPress there are a few simple steps to follow when publishing a new post with an image. Watch my video so you can follow the steps in creating your WordPress post complete with an image…or two.
I also show you how to make sure all your meta tags are inserted for your post and image.
Pages are created the same way, although as I said in the last tutorial,
Remember that a page is different to a post. A “post” falls into your blog section and is an easy way to give updates to your website audience. Think of it as your news section and recent article additions.
Your posts also are categorized and tagged, whereas your pages are not.
A page is an actual new page of your website that should be considered more “static” and with higher authority in your site.
The Pages Menu is very similar to the Posts Menu.
- All Pages: This is where you can view all the pages you already have on your blog.
- Add New: This will take you to an on-screen editor to add a new page, just like when creating a post.
How To Create A New Post
There are two ways to create a new post or page. Either click the + New button in the top toolbar, or click Add New under the Posts or Page menu.
Now you’ll see an editor that looks like this. As you can see from the image, you can enter a title into the space indicated. This is the title as it’ll show up in public on your website, so make it read exactly how you want to catch the eye of your intended visitor!

You can then use the visual editor in the box to enter your post content. You may have also noticed the Visual/ Text toggle button on the right hand side. You don’t need to worry about this unless you need to insert some HTML code into your post. If so, make sure you do so using the Text editor. It won’t show correctly if you place code into the “visual” editor.
There are also formatting options. As you can see, the formatting options are very similar to what you’d use if you were typing a document on a word processor like Microsoft Word.
You can make your text bold, center-aligned, or change its color. You can also create headings within the content. This is all very easy to get used to and the best way to learn is by playing around with it yourself.
There are just a few options that aren’t the same as a word processor that are worth going over.
Adding Images – “Media Library”
![]() Add Media – This button is what you click if you want to add pictures, videos, audio files or any other media files. You can either upload them straight from your computer hard drive, or you can select a file that you previously uploaded to the Media Library.
Add Media – This button is what you click if you want to add pictures, videos, audio files or any other media files. You can either upload them straight from your computer hard drive, or you can select a file that you previously uploaded to the Media Library.
Once you’ve written your post, you’ll probably want to change some of the settings on that same post screen. Before you do, always save your post as a draft to make sure you don’t lose anything!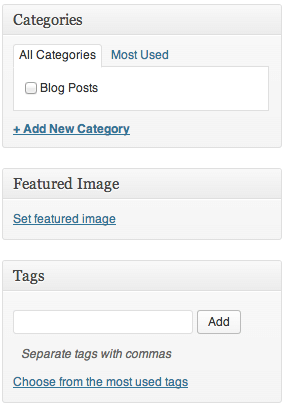
- Categories – In the categories box, you can choose an appropriate category to assign to this post. If you haven’t created one yet, click “Add New Category”. When creating categories, think hard first. Make sure your categories are on the topic of your website and not random thoughts. It’s well worth using categories, as this helps visitors better navigate your site.
- Features Image – If your theme supports it, you can use this option to choose an image from your Media Library, or upload one from your computer, and it will then show however your theme is set to display it. For all other images, just add them directly within the post editor.
- Tags – These are another way to label your posts. It’s a good idea to tags related to your posts here, but it’s totally optional.
Publishing Your Post and Changing Privacy Settings
Here’s an explanation of the other settings there:
- Status – Here you can save posts as Drafts or as Pending Review. Both are not visible to the public and are useful for your own organization.
- Visibility – Public posts will be visible to everyone once you press Publish.
- Private posts will be visible only to logged in WordPress “admin” users.
- Password Protected – means only those who you provide with the password for the post will be able to view the content.
- Publish Immediately – If you don’t want to publish your post immediately, you can click the edit button (next to the “Publish immediately” text and you can schedule the post for a date in the future.
If your post is ready to publish or even if it is scheduled for a future date, you must still press Publish before it will show up on your blog or set up for the future scheduling.
I hope this tutorial has you all ready to go with posting pages or “posts with images”, videos etc., to your website today.
 7 Reasons To Use WordPress For Your Website
 Do You Lose Customizations If You Update Dynamik Website Builder?
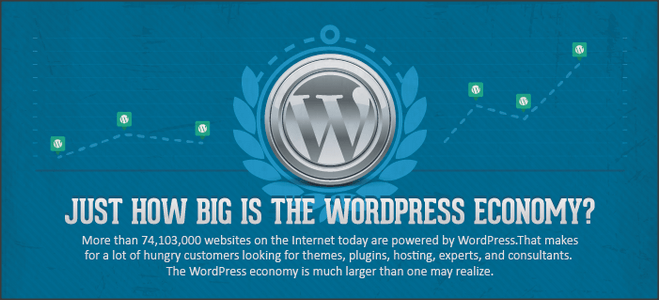 WordPress For Web Design Gets Bigger Everyday
 How To Create Categories and Tags In WordPress
 Cloaking Affiliate Links – Pretty Link Pro or PHP Redirects
Leave a Reply